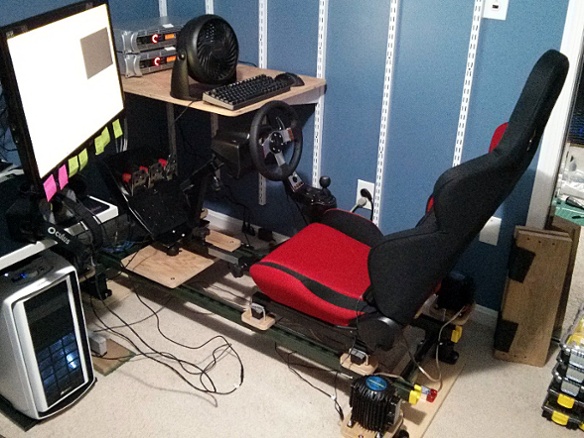
My SimVibe Overkill Rig
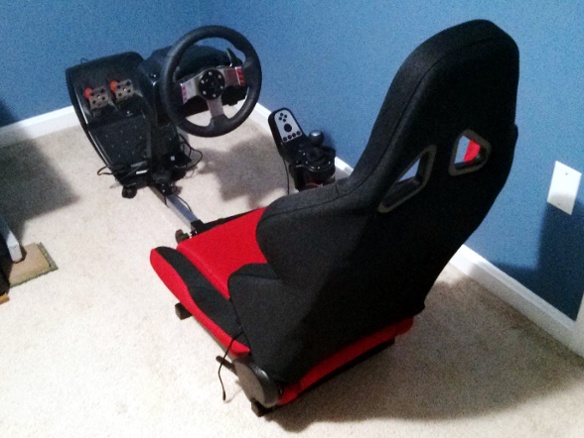
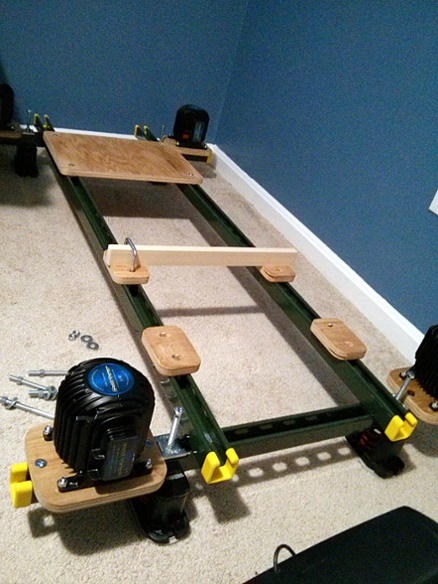
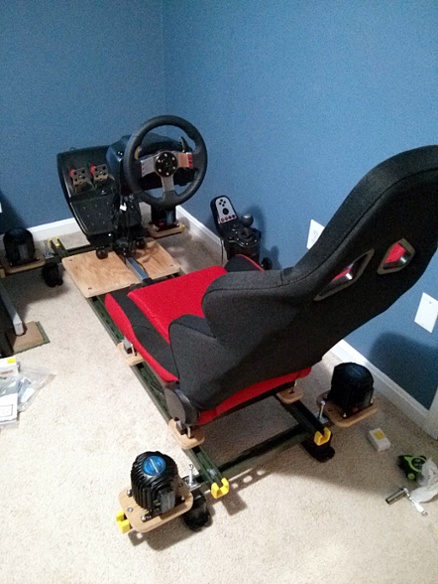
The goal was to take my existing Open Wheeler cockpit and make that sucker shake.
Also discussed on isrtv in March 2015.
Mission accomplished.
I should emphasize that it only moves like that when unloaded, and only at those extremely low frequencies. Once I sit in it, I have to turn down the effects or the transducers will keep bottoming out (in my next build I hope to improve that). It still gives solid thumps, but it thankfully doesn’t have to be roped down to keep it from walking across the room like it was in that video.
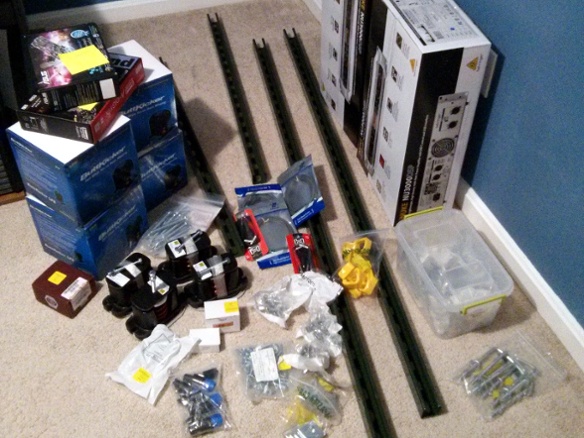
While this was cheaper than an off-the-shelf motion rig such as a SimXperience Stage 1, the big LFEs and the parts to run them add up fast. The shakers, amps, cables, sound cards, spring mounts, framing, software, etc. probably approaches $2K just for SimVibe-related parts. I imagine you could DIY a real 2DOF seat mover for the same budget, albeit with a lot more time and effort.
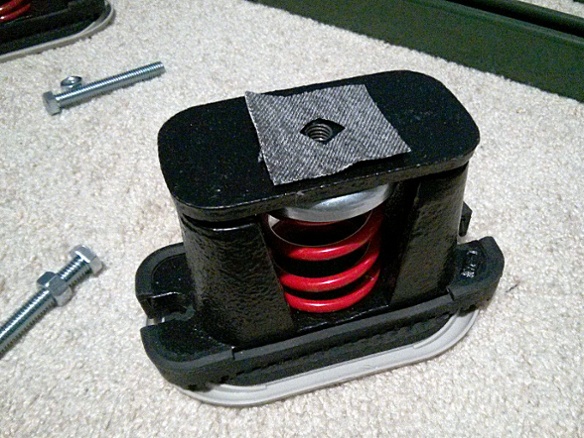
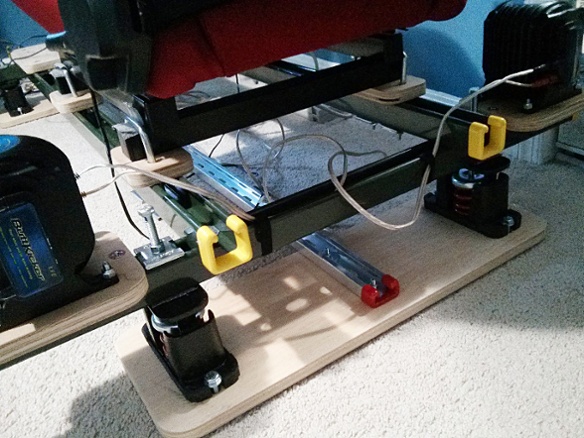
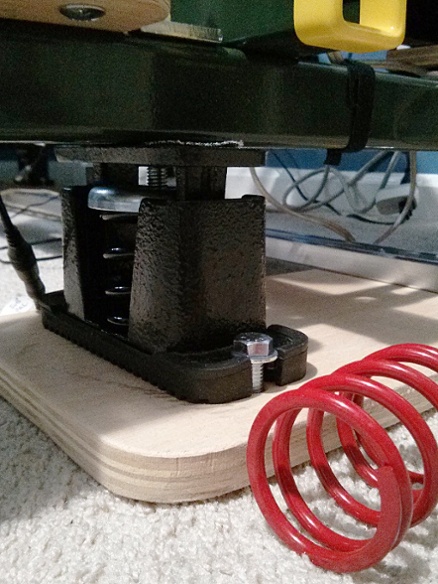
The spring mounts are [as of July 2020] “Extreme-Force Bolt-Down Vibration-Damping Mounts with Threaded Hole” at McMaster-Carr. The actual brand is VMC Group model BE-1C. The springs can be bought separately and are color-coded by weight. One of those pictures is from when I switched the rear mounts from red 150lb springs to some black 250lb springs.
A couple caveats about those mounts: the manufacturer says you don’t need to bolt down the bases, but that’s based on the idea that they’re being used in a single spot on a hard floor to support a heavy machine with a consistent weight. Also each mount is 6 distinct pieces (spring, plates, rubber dampers, etc) held together by gravity and by having a load on top.
For example when you calibrate them for a rig with a person in it, and then you step out of the rig, the tops can rise up higher than they’re really designed for, especially if you use lighter springs for more bounce. As shown in one of those pictures, I originally had the mounts sitting directly on top of carpet sliders. Then I got out of the rig and tried to slide it sideways on the carpet, and bases tipped over and the mounts separated. Getting them reassembled while the rig was still attached to the top of them was a nightmare of one-handed heavy lifting and frantically throwing everything else in the room out of the way and cussing up a storm.
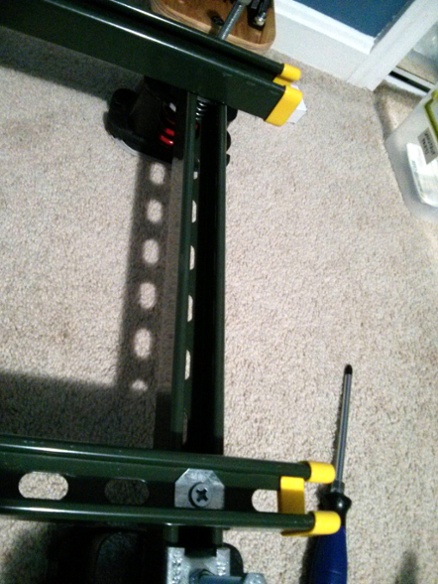
So I quickly learned that in this application you really do need to stabilize the bases. The plywood pieces I added underneath are also attached to each other with some strut channel. This ensures that the mount bases cannot tip and always have the same relative positioning no matter how much I slide the rig around. If you use these mounts, plan on having something similar under them.
Even then, you still can’t lift the rig up to carry it around unless you first strap the mounts together somehow to keep them from lifting out of the bases.
In the event that they do come apart, make sure your design allows you to support the rig some other way (I have some wooden blocks) so that you can temporarily detach the spring mounts for reassembly. As mentioned above, trying to get all the parts back in place while something is bolted to the top plate is a very unpleasant experience.
Another option for springing a rig would be to use some small shocks.
